This gluten-free bread recipe is soft, fluffy, and perfect for sandwiches, toast, or just slathered with butter. Whether you’re gluten-intolerant, have celiac disease, or are simply exploring gluten-free alternatives, this homemade loaf delivers the taste and texture you crave—without any strange aftertaste or crumbliness.
Unlike many store-bought versions, this bread is made with everyday pantry ingredients and no preservatives. It rises beautifully, slices easily, and holds together like traditional wheat bread.
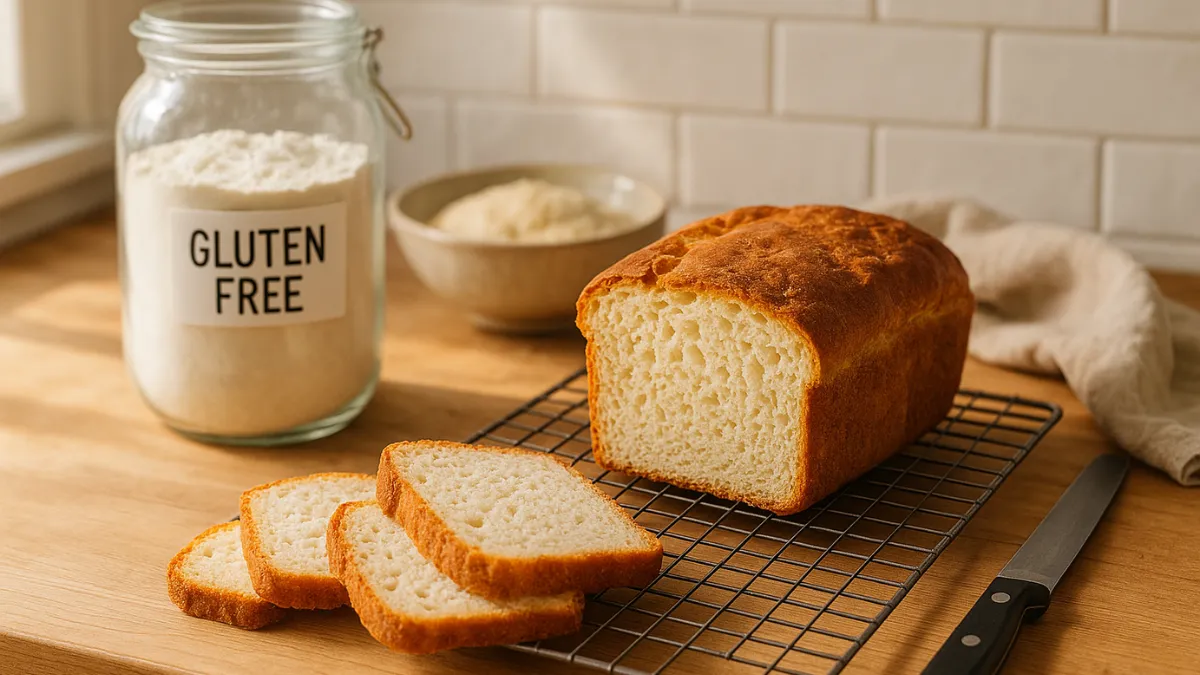
You’ll be surprised at how simple and rewarding it is to make your own gluten-free bread at home—fresh, warm, and perfectly golden every time.
Why You’ll Love This Recipe
You’re going to fall in love with this gluten-free bread for so many reasons! First, it has a soft, tender crumb and golden crust—no dry, dense loaf here. It’s perfect for sandwiches or toasting, and it doesn’t crumble apart like many other gluten-free breads do.
It’s also incredibly versatile. You can customize it with seeds, herbs, or even turn it into a sweet version with cinnamon and raisins.
This recipe is a budget-friendly, healthier option compared to most store-bought loaves, which are often loaded with preservatives and lacking in flavor. Plus, making it yourself means you know exactly what’s going into it—no hidden additives or weird ingredients.
It’s freezer-friendly, dairy-free, and doesn’t require any complicated techniques. Just mix, rise, bake, and enjoy! Whether you’re new to gluten-free baking or a seasoned pro, this recipe is going to be your go-to for everyday bread that truly delivers.
Make-Ahead Tips
Gluten-free bread is fantastic for prepping ahead. Here’s how to make it fit your schedule:
1. Prep the dough ahead of time:
You can mix the dough, let it rise, and refrigerate it for up to 24 hours before baking. Just cover tightly with plastic wrap and let it come to room temp before baking.
2. Bake and freeze:
Once baked and cooled, slice the bread and freeze the slices in a zip-top bag with parchment between each piece. That way, you can grab one or two slices as needed—just toast them directly from frozen!
3. Store at room temperature:
Homemade gluten-free bread is best the day it’s baked but stays fresh for up to 2 days when wrapped tightly and kept in an airtight container. For longer storage, keep it in the fridge for up to 5 days.
This flexibility makes it a fantastic go-to for weekly meal prep or busy mornings.
Ingredients
- 2 cups gluten-free all-purpose flour (with xanthan gum)
- 1 cup warm water (110°F/43°C)
- 1 tablespoon sugar or honey
- 2 ¼ teaspoons active dry yeast (1 packet)
- ¼ cup neutral oil (like vegetable or olive oil)
- 2 large eggs (room temperature)
- 1 teaspoon apple cider vinegar
- 1 teaspoon salt
Optional add-ins:
- 1 tablespoon chia seeds, flaxseed, or sunflower seeds
- ½ teaspoon garlic powder or dried herbs
Instructions (Detailed)
- Activate the yeast:
In a small bowl, mix warm water and sugar (or honey). Stir in the yeast and let it sit for 5–10 minutes until foamy. - Mix the wet ingredients:
In a large bowl, whisk together the eggs, oil, and vinegar. - Add dry ingredients:
To the wet mixture, add the gluten-free flour and salt. Pour in the activated yeast mixture and beat with a hand mixer or stand mixer for about 3–5 minutes until smooth and thick. The dough will resemble thick cake batter—not like traditional bread dough.
- First rise:
Scoop the batter into a greased 8×4-inch loaf pan. Smooth the top with a spatula. Cover loosely with plastic wrap and let rise in a warm place for 45–60 minutes until it nearly doubles in size. - Bake:
Preheat oven to 375°F (190°C). Bake for 35–40 minutes or until the top is golden and a toothpick inserted in the center comes out clean. - Cool:
Let the bread cool in the pan for 10 minutes, then transfer to a wire rack to cool completely before slicing.
Tips for Better Results
- Check your flour blend. Make sure it includes xanthan gum or add 1 tsp separately.
- Don’t skip the mixing time. Gluten-free dough needs more mixing to incorporate air and hydrate the flour.
- Use room temperature ingredients. Cold eggs or water can slow down yeast activation.
- Smooth the top before rising. This gives a prettier loaf and more even bake.
- Let it cool completely before slicing. It finishes setting as it cools—cutting too early can make it gummy.
This gluten-free bread is a game-changer—easy to make, packed with flavor, and so satisfying. Whether you’re new to gluten-free living or just want a healthier, homemade alternative, this recipe has got you covered.
With its fluffy texture and endless customization options, you’ll never miss traditional bread again. Plus, it’s freezer-friendly and perfect for busy mornings or packed lunches. Give it a try, and get ready to enjoy fresh-baked gluten-free goodness any day of the week!
FAQs
1. Can I use almond or coconut flour instead of a gluten-free blend?
Not for this recipe. Almond and coconut flour absorb moisture differently and need separate ratios.
2. What if my bread doesn’t rise?
Make sure your yeast is active (it should foam). Also, keep the dough in a warm, draft-free area to rise.
3. Can I make it egg-free?
Yes, substitute the eggs with flax eggs (2 tbsp flaxseed meal + 6 tbsp water) or a commercial egg replacer.
4. How can I make the crust softer?
Cover the loaf with a clean kitchen towel as it cools. This traps steam and softens the crust.